Camera Heatmap
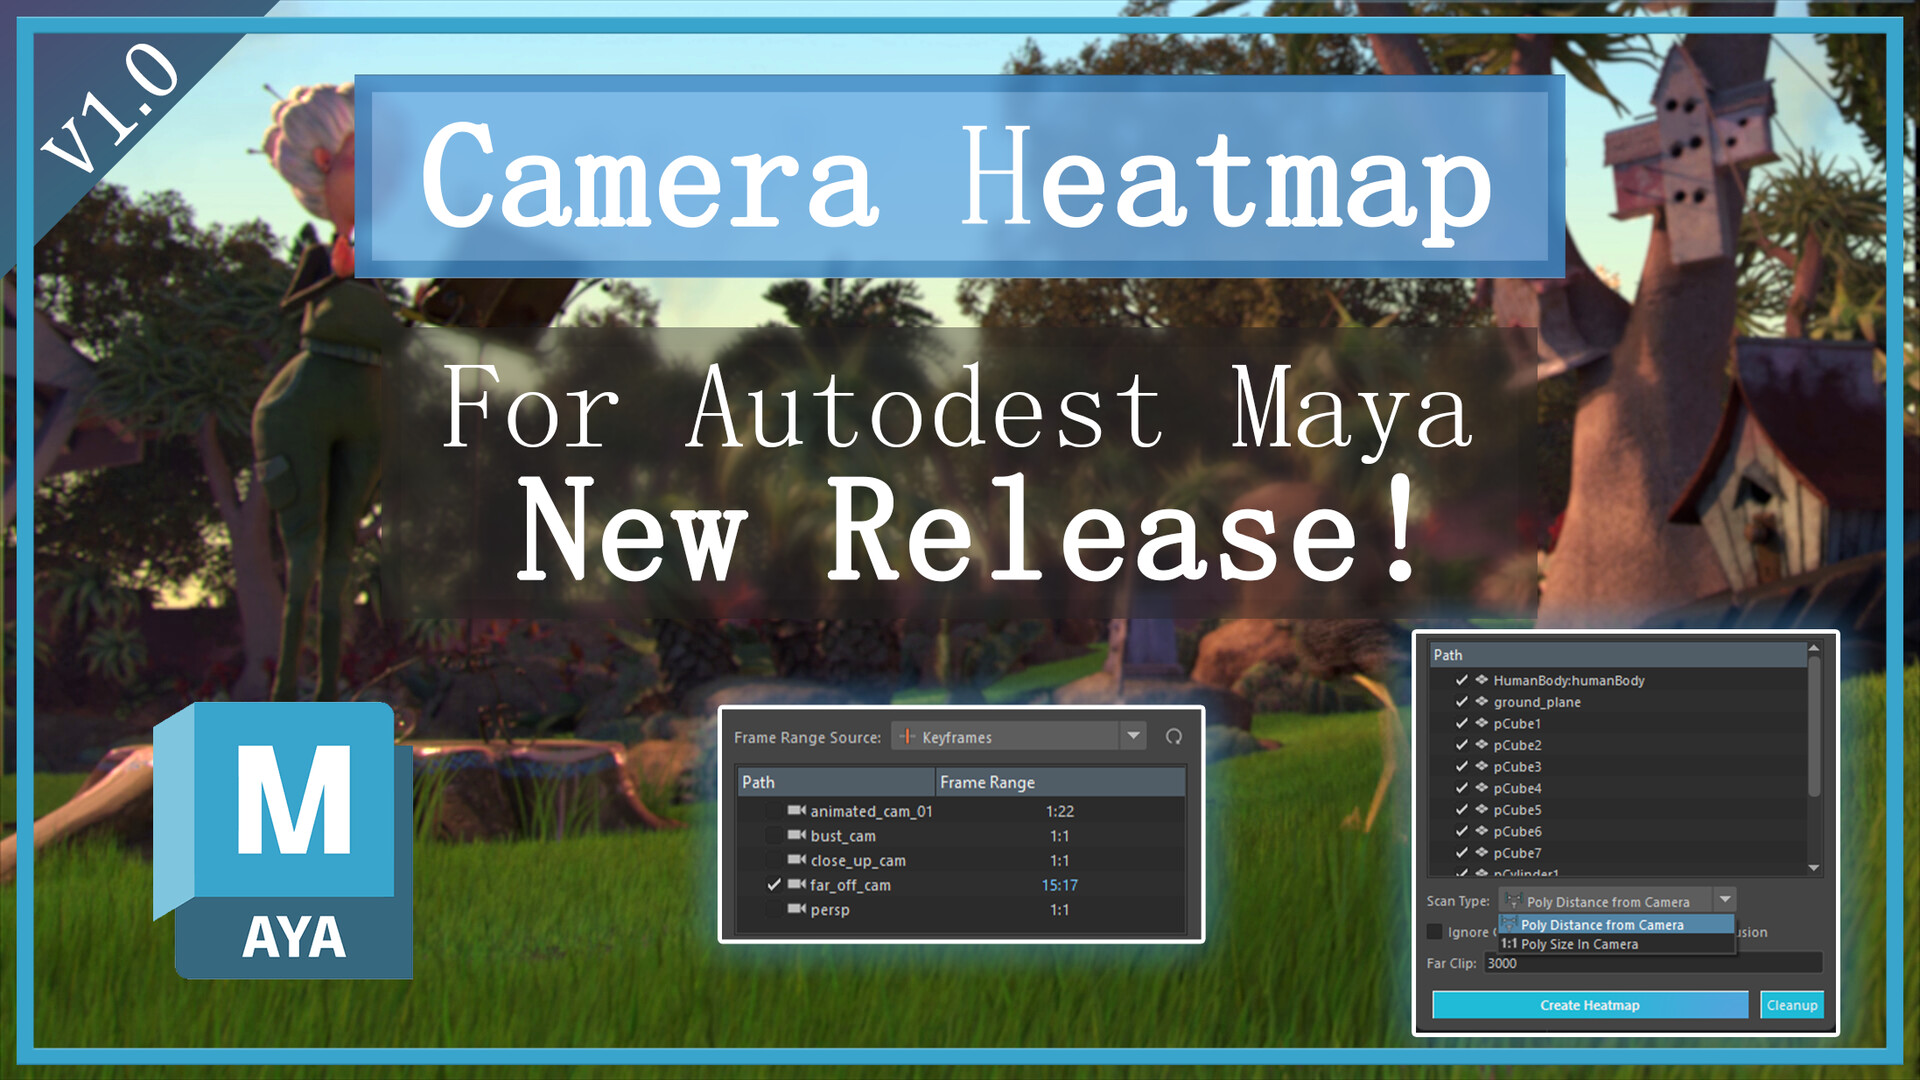
Introduction:
Camera Heatmap is a tool for visualising the data visible in the frustum of a camera or combination of a list of cameras.
The interface allows you to select a list of cameras and a list of geometry.
It will then process the combination to output a heatmap, represented in a colorset applied to the geometry.
Application:
The output heatmap colours can clearly combine the points of interest in a list of cameras across varied frame ranges.
This can assist in determining which areas of an environment will need the most detail in texture, or set dressing based on them being closest to any particular camera.
It can visualise where detail can be minimised or removed due to walls, hills, or buildings blocking off large areas of terrain from the cameras field of view.
The poly size in camera scan can assist in determining areas that may need increased subdivision.
Features:
Frame Range Source:
 Allows you to choose from a variety of presets to auto populate for each camera.
- Current Frame: Will match the frame you are currently on in the timeline.
- Playback Bar: Range / Full Range: Will use the limited or full range of the playback bar as the source.
- Render Settings: Will fetch the frame range set in your render settings.
- Keyframes: Will Fetch the first and last keyframe relevant to each camera.
Override Frame Range:

Double click a frame range item to type in your own custom frame range override which will then ignore changes to the "Frame Range Selection"
Preview Cameras:

When you click on a camera in the UI, you will automatically look through that camera at its first frame in the viewport.
Identify Mesh:

When you click on a mesh in the UI, that mesh will be selected in your viewport and its full name displayed temporarily.
Right-Click menu:
For batch enabling and disabling mesh and cameras for processing.
Also to clear Frame Range overrides.
Ignore Occlusion:
If you do not need assets closer to camera to block calculation of faces behind them, then you can Ignore Occlusion to vastly reduce the computation time.
Detailed Occlusion:
Perform an occlusion check on more points per face providing increased accuracy for partially occluded faces at the cost of increased processing time.
Far Clip:
A distance, beyond which to ignore faces for calculation.
Create Heatmap:
The button that runs the process.
Cleanup:
Removes all of the data created to represent the heatmap.
How to use it:
- Run the script through the button on your shelf.
- Choose which cameras you want to export.
- Choose the frame range you want to use.
- Choose which mesh you want to scan and apply the heatmap to.
- Click "Create Heatmap"
Installation:
- Open Maya and view the shelf that you want to add the tool to.
- Drag and drop the "camera_heatmap.py" file into your Maya session.
- The tool will appear on your current shelf.